Hiya crafty friends,
 |
| Part 1 - Last weeks finished dress |
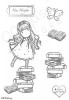
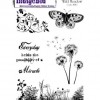
Last week I shown you Part 1, where I coloured Gorjuss' dress.
This week I will be colouring her hair, which isn't my strongest point...still need lots of practice but I'm quite pleased how it came out.
I decided instead of black hair I would colour her hair brown/auburn. I wish my hair was that colour...lol :)
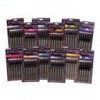
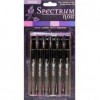
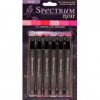
The colours I have used this week are:
The colours I have used this week are:
Hair
|
|
Caramel
|
Eb2
(169) Skin Tones
|
Vanilla
|
|
Satin
|
FS1
(26) Pastels
|
Walnut
|
So, now on to the video

Be sure to pop in next week when I will be showing my skin coloring and the finishing touches.
See you then!

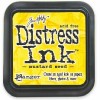
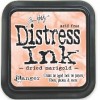
Project ingredient